If you've used or seen Blueprints in Unreal Engine, or you've used a node-based interface in general, you'll probably be familiar with the term "spaghetti code". If not, let me quickly explain it: "Spaghetti Code" refers to a collection of nodes connected together, with the links crossing over each other to the point where it's easy to completely mistake what goes where. (The term can also be used to describe code as well, but we're just looking at blueprints in this context.)
Let's use this blueprint function as our playground to go over what we can do to avoid the spaghetti:
 A somewhat messy blueprint function
Before we begin, what does that blueprint function actually do? Essentially I created a function that will listen for a left mouse click event, perform a line trace (also known as a raycast) from the actor's location (+ 50 cm on the z-axis) to the actor's forward direction (x 1,000 cm), check if we hit anything in that cast and if it's a valid object, check if it can be damaged, log the actor's display name, and then apply 10 points of damage to the actor. This is essentially a super simple way of performing hit scan damage to an actor that this actor (the player character) is looking at.
So let's use this as a good reference to perform some spring cleaning!
Align the Lines
Unreal's Blueprint Graph Editor provides some helpful features to organize your nodes and links. Let's take a look at a few of these!
Use Reroute Nodes
When you're dragging a pin link on to the graph editor, you might have noticed an entry in the action context menu named "Add Reroute Node..."
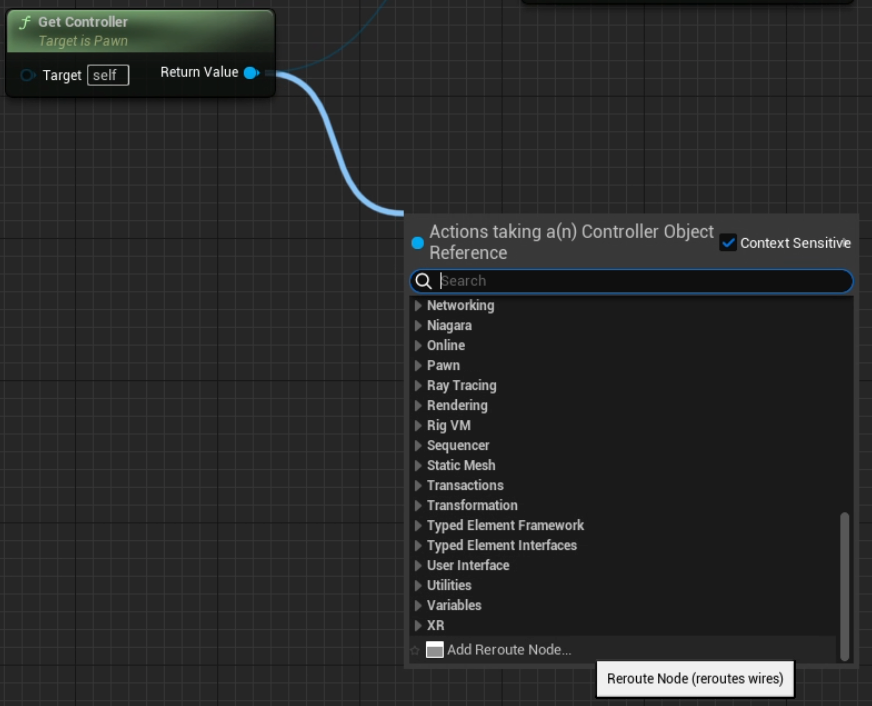 Selecting a reroute node from the action context menu
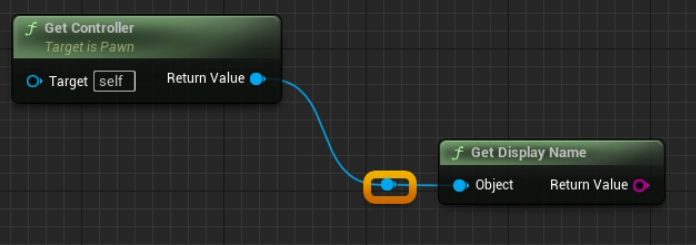 A reroute node
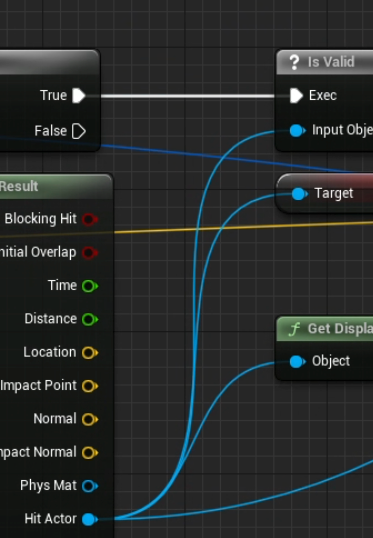 Before using a reroute node
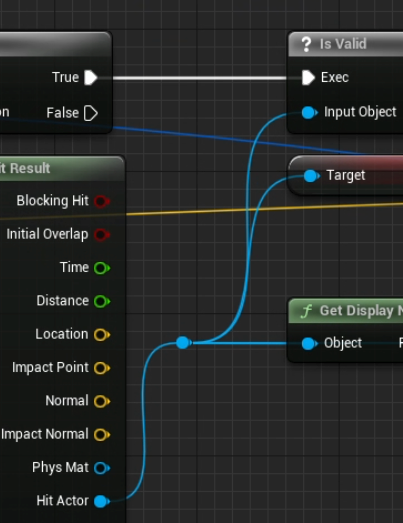 After using a reroute node
Use Node Alignment Tools
Aligning your nodes can also help to organize your connections. If you have two (or more!) nodes that aren't aligned to have straight connections, Unreal has an option to automatically straighten those connections for you!
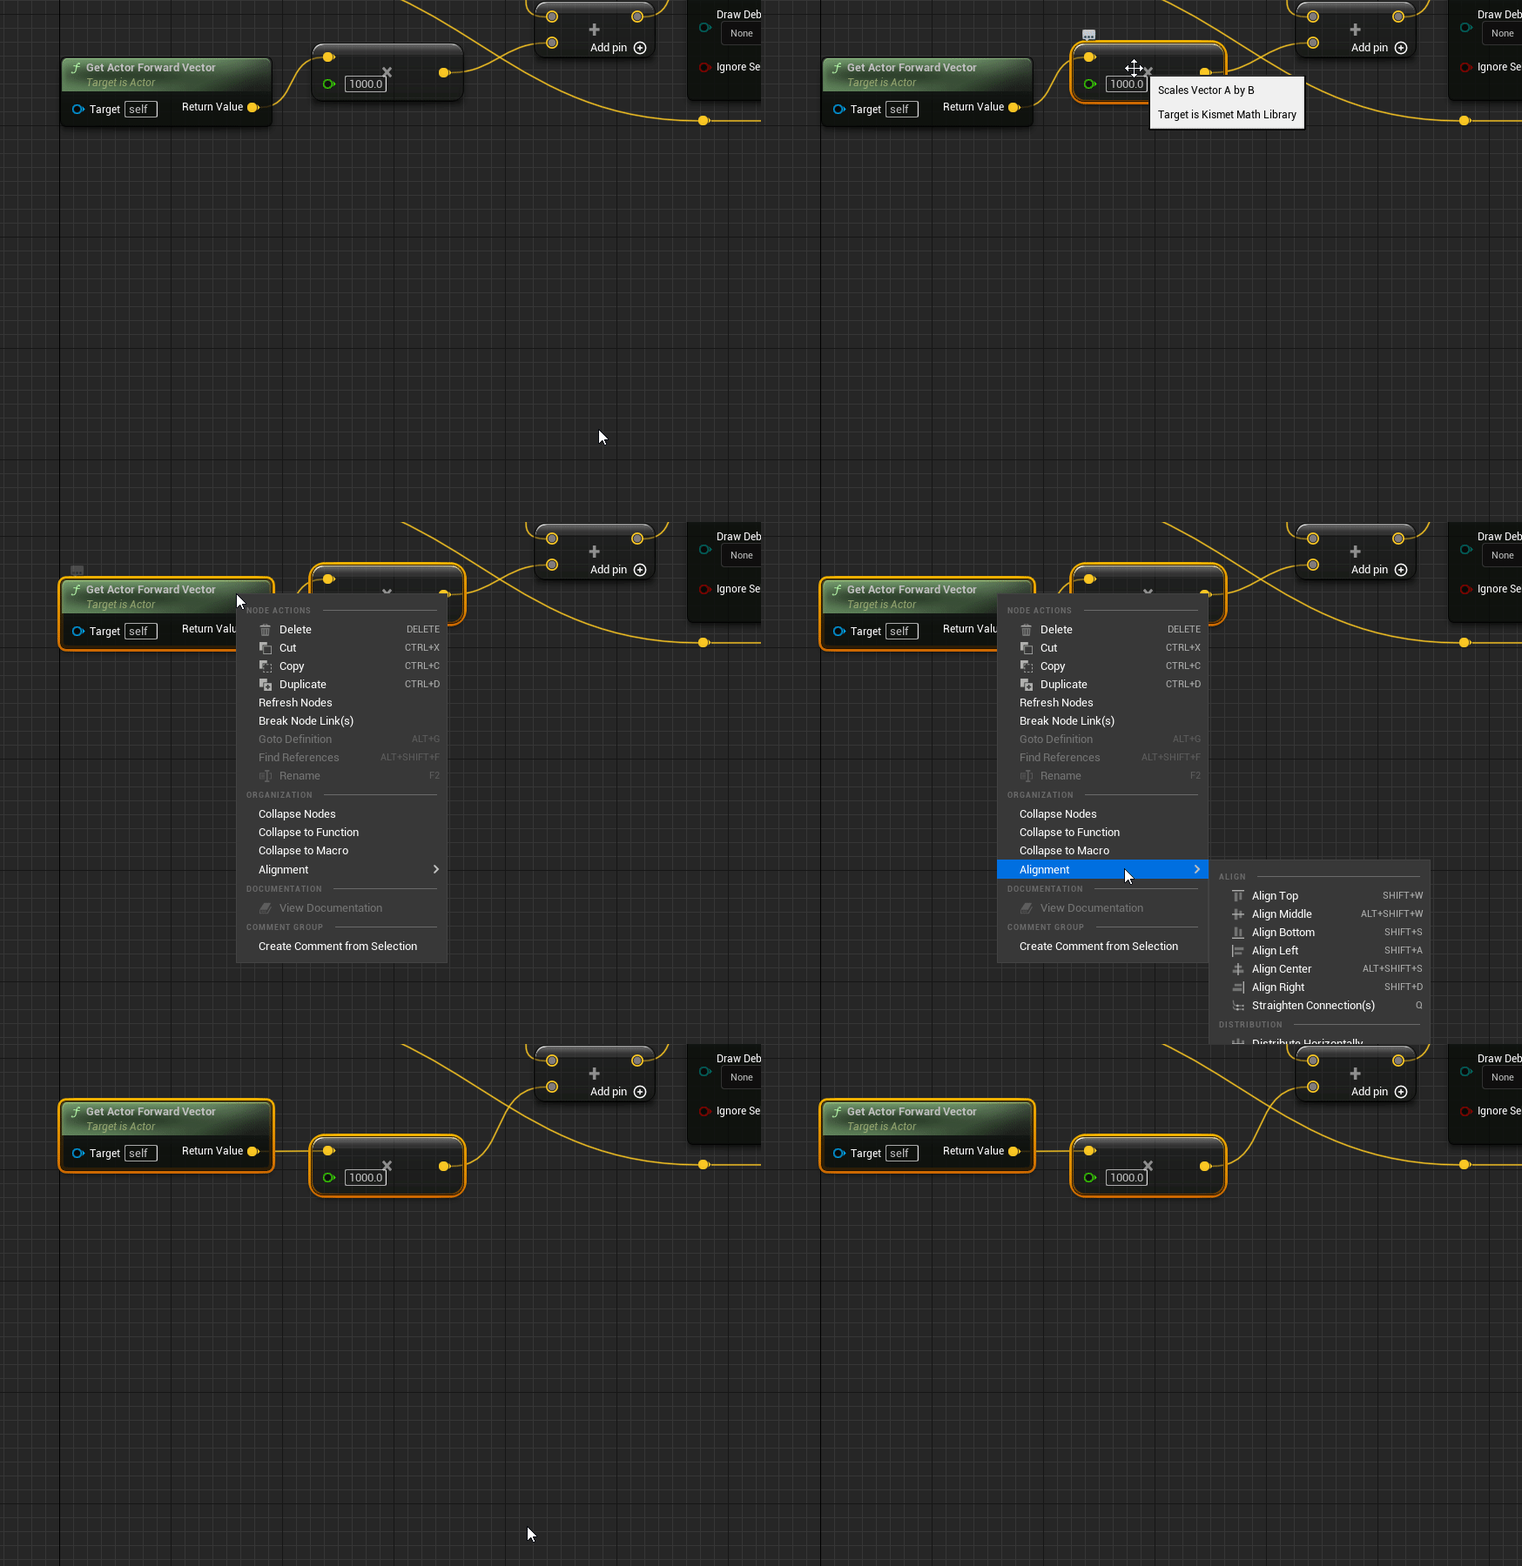 Straightening node connections
 After using some of the organization methods, it's looking a lot cleaner!
Convert Nodes to Functions
Another helpful tool to cleanup your blueprints - especially if you reuse code - is to collapse your nodes to a function. This will essentially move the selected blueprint nodes to a new local function that exists in that blueprint and can be used like a single node.
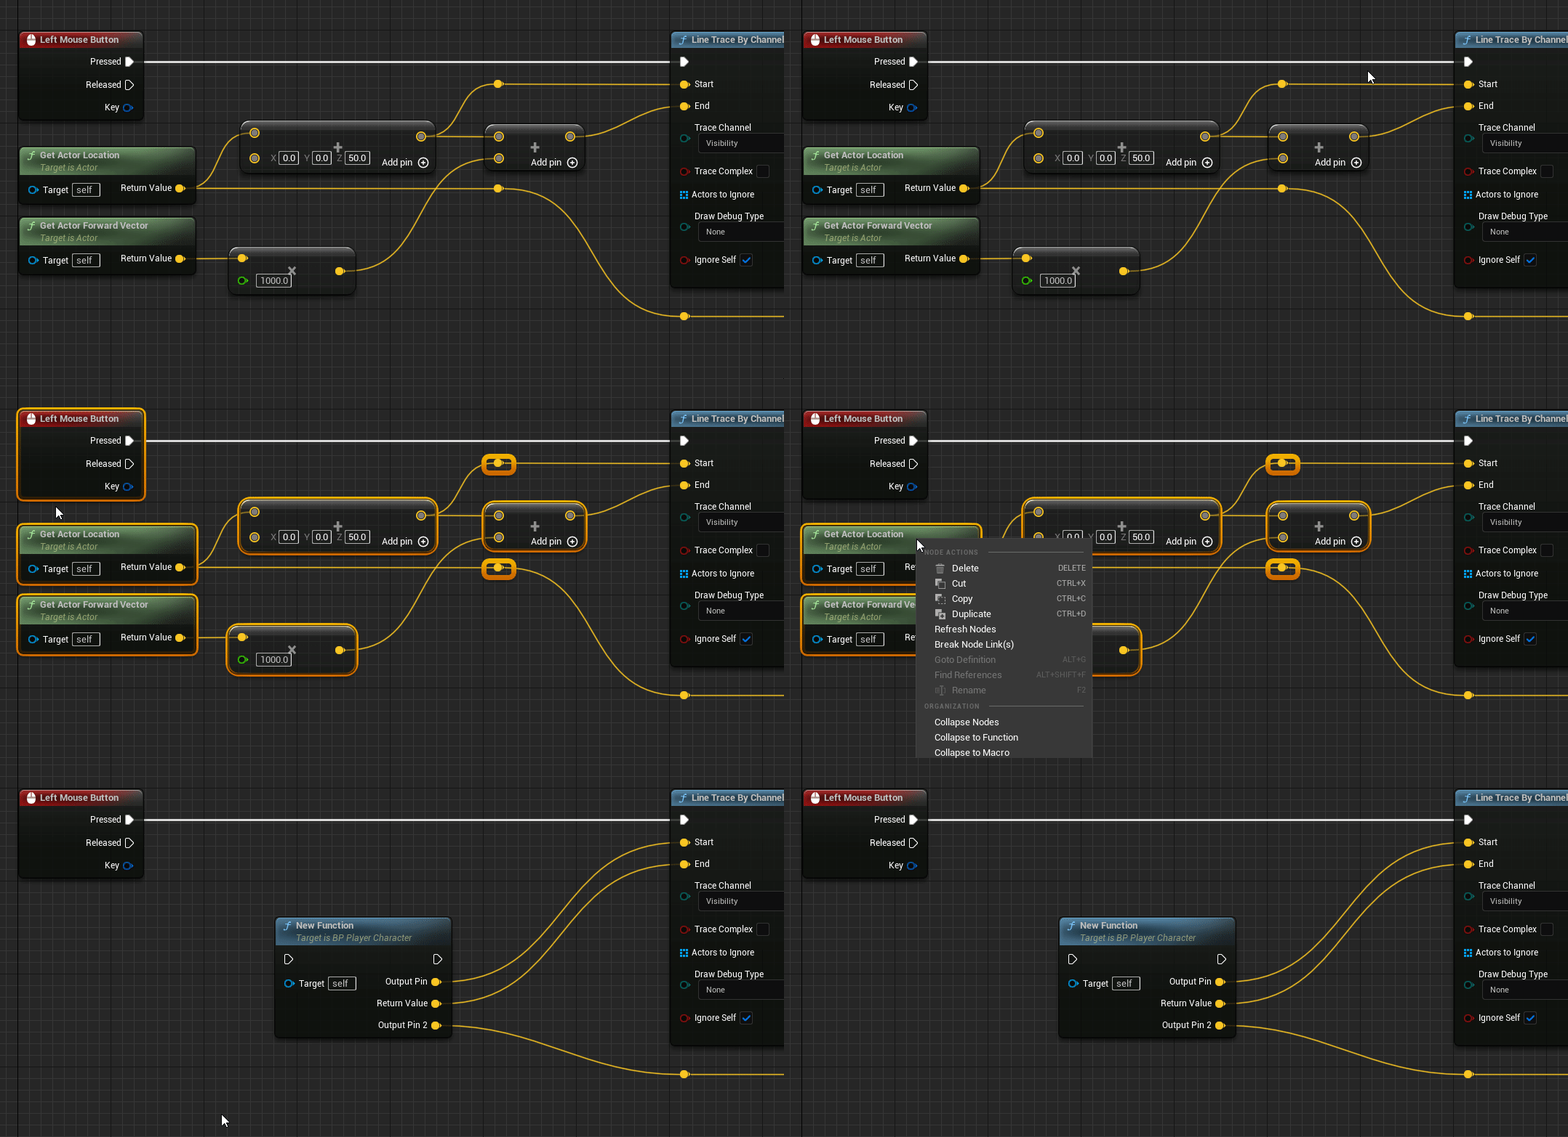 Collapsing selected nodes to a function
 The collapsed nodes inside the new function
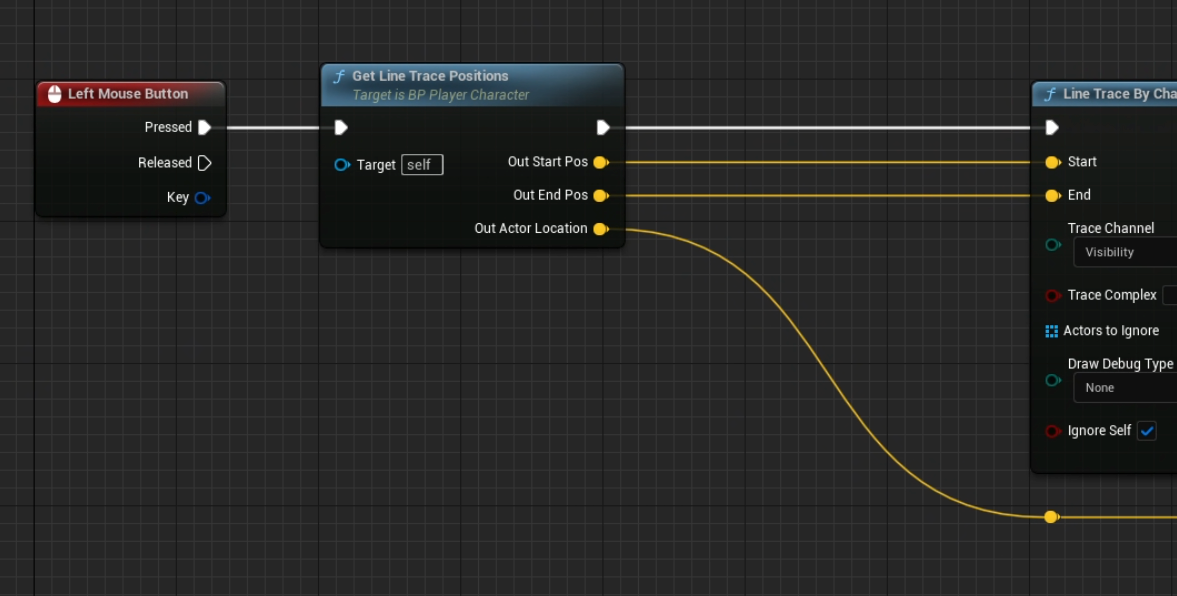 Using the collapsed function in place of the nodes